

1.5. Lab 01#
Your goals for this lab include:
To setup the development tools needed for C# programming.
To create your first .NET project for C# development using the terminal.
A “hello, world” program is traditionally a simple computer program that outputs a test message similar to “Hello, World!” to show that the program’s basic syntax works. Nowadays, it is used as the first program when learning a new programming language. The origin of this convention is known to be from the 1978 book The C Programming Language by Brian Kernighan and Dennis Ritchie, which in turns is inherited from a 1974 Bell Laboratories internal memorandum by Brian Kernighan, Programming in C: A Tutorial [1]. In the book, it says “[t]he only ways to learn a new programming language is by writing programs in it. The first program to write is the same for all languages:”
Print the words
hello, world.
1.5.1. Installing Toolchain#
1.5.1.1. VS Code#
Visit the Visual Studio Code website site or use a package manager to install the current version of VS Code for your operating system. [2] An online version of VS Code is also available.
1.5.1.2. .NET SDK#
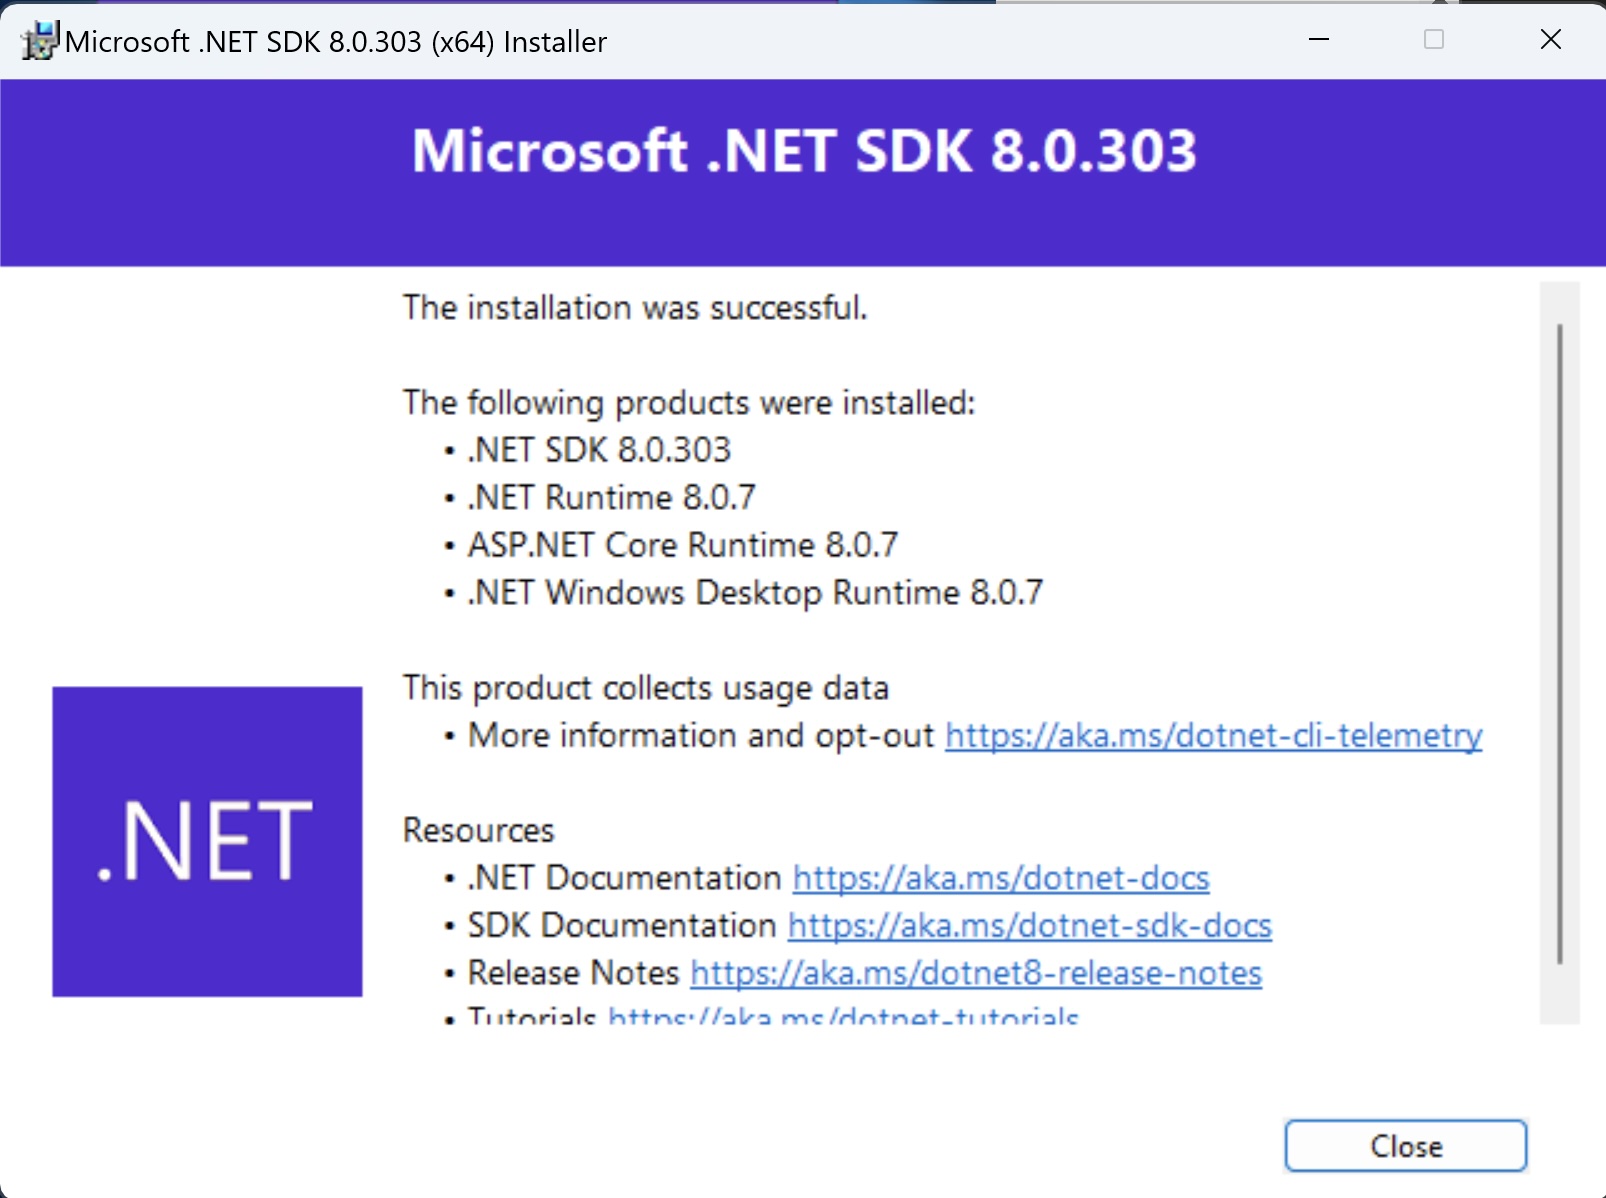
Visit the .NET page and scroll down to click on the “Install the .NET SDK” button. You will be redirected to the .NET Download page, with the OS, architect, and the recent long term support version of .NET SDK pre-selected for you to start downloading. The download page also includes instructions for the installation and verification of the SDK. At the end of the installation, you should see a notification that the .NET SDK, along with .NET runtime, ASP.NET Core Runtime, and .NET Windows Desktop Runtime are installed.
To verify if .NET SDK is installed correctly, open a new terminal (Windows PowerShell or
macOS Terminal) and run the dotnet command by typing dotnet at the command prompt and then
hit the Enter key. If .NET is correctly installed, you should see results as below.
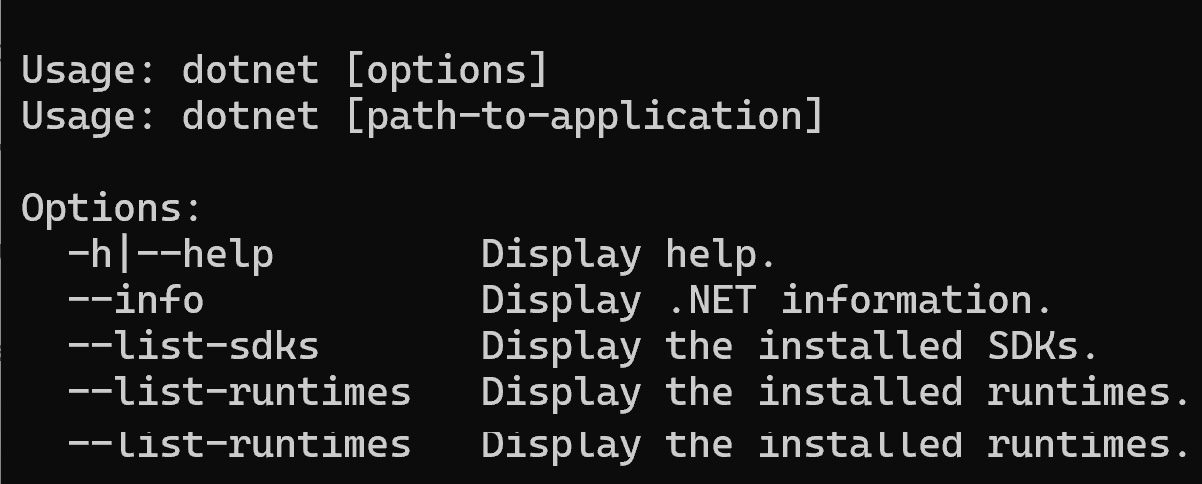
Fig. 1.10 Outcome of running the dotnet command in terminal#
1.5.1.3. C# Dev Kit extension#
Click on the the Extension view icon on the Activity Bar, search and install the C# Dev Kit (this should
also install the C# extension from Microsoft).
1.5.2. Creating a C# Project#
1.5.2.1. Creating the Workspace Folder#
Follow the following steps at the terminal to prepare the environment for learning C#. You will 1). first create a directory for your project and then 2). turn the directory into a project directory.
Note
You can actually perform this task using your computer’s GUI but this is an important practice, especially if you are new to the terminal/shell.
Start your terminal application (Windows PowerSell or macOS Terminal): By default, you would be in your user home directory with a command prompt when the terminal app starts.
Issue the command
pwdto show your present work path to make sure you are in your user home directory. You should see the terminal showing your current location if you use Windows:PS C:\Users\[username]> pwd // type the command and Enter Path ---- C:\Users\[username] // [username] is the user account name and also the user home directory name
or, for macOS:
[username]@mac:~$ pwd
/Users/[username]
Type the
lscommand + Enter to see the files and directories in your user home directory. You should see the usual folder/directory names.Create a directory called “workspace” (
mkdir workspace) in your user home directory if you have not done so.Change directory into the workspace directory (
cd workspace).Inside workspace, create a directory cscs (
mkdir cscs).Also inside workspace, create another directory called tests (
mkdir tests) if you have not done so.ls+ Enter to make sure that you have two directories created: cscs and tests.Change directory up one level (
cd ..) or justcd ~to go back to the your user home directory.Use the
exitcommand (exit+ Enter) to leave the terminal.
The process should look like this:
   [username]@[computer]:~$ ls
   Applications      Google Drive      Pictures
   Desktop           Library           Zotero
   Documents         Movies
   Downloads         Music
   [username]@[computer]:~$ mkdir workspace
   [username]@[computer]:~$ cd workspace
   [username]@[computer]:~/workspace$ mkdir cscs
   [username]@[computer]:~/workspace$ mkdir tests
   [username]@[computer]:~/workspace$ ls
   cscs tests
   [username]@[computer]:~/workspace$ cd ..
   [username]@[computer]:~$ exit
1.5.2.2. Creating the Project Folder#
Here you will create a folder for a test project, call it Hello. The specific process should look as the code block below and the steps are explained first here:
Start the terminal app: You start the terminal application (Windows PowerSell or macOS Terminal). You should be in your user home directory by default.
Change directory (
cd) into the tests directory: The tests directory is inside your workspace directory, so you have to change into workspace from your home directory first (cd workspace) thencd tests; or, you can issuecd workspace/tests.Make sure you are in tests:
pwd+ Enter and you should see that you are in the tests directory in USERNAME/workspace/tests.Create the project folder (“Hello” in this case):
mkdir Hello.Make sure you have created the folder:
ls+ Enter and you should see the Hello directory.Now you need to change into the Hello project directory:
cd Hello.Check your location: Issue the
pwd+ Enter command and you should be in the Hello project directory:[username]/workspace/tests/Hello$
The whole process would look like this:
   [username]@[computer]:~/$ cd workspace
   [username]@[computer]:~/workspace$ cd tests
   [username]@[computer]:~/workspace/tests$ pwd
   /home/[username]/workspace/tests/
   [username]@[computer]:~/workspace/tests$ mkdir Hello
   [username]@[computer]:~/workspace/tests$ ls
   Hello
   [username]@[computer]:~/workspace/tests$ cd Hello
   [username]@[computer]:~/workspace/tests/Hello$ pwd
   /home/[username]/workspace/tests/Hello$
   [username]@[computer]:~/workspace/tests/Hello$
1.5.2.3. Creating a C# Project#
You just created the project folder (Hello) and now you are ready to create the project following the steps as follows.
Make sure you are in your Hello project directory. (
pwdshould show that you are in the Hello directory:[username]/workspace/tests/Hello$Issue the command
dotnet new console+ Enter to create the new project.Run the project by issuing the
dotnet runcommand.
   [username]@[computer]:~/workspace/tests/Hello$ dotnet new console
   The template "Console App" was created successfully.

   Processing post-creation actions...
   Restoring /Users/[username]/workspace/tests/Hello/Hello.csproj:
      Determining projects to restore...
      Restored /Users/[username]/workspace/tests/Hello/Hello.csproj (in 145 ms).
   Restore succeeded.

   [username]@[computer]:~/workspace/tests/Hello$ dotnet run
   Hello, World!
   [username]@[computer]:~/workspace/tests/Hello$
Congratulations! You have just created and run your first C# console application project!
1.5.2.4. Using VS Code#
While we usually (and will in the future!) start VS Code by clicking on the application icon in your device, for now, follow the steps below:
In the terminal, change into the project directory if you have not done so: (USERNAME/workspace/tests/Hello$)
Start VS Code by issuing the command
code .(codeis VS Code and the.means the present location). (If VS Code is not launching after your issuecode ., it may be a PATH issue. See this VS Code Command Line Interface (CLI) page for a solution).VS Code will start with the folder as the working directory shown in the VS Code Explorer view.
Click on the file
Program.csto see the code.Change “
Hello, World!” to “Hello, YOUR_NAME!”.Click on the Toggle Panel icon () to show the VS Code panel:
Click on the terminal tab () in the bottom Panel pane.
The terminal here is exactly the same as the terminal in your terminal app.
The current directory is by default your project (
Hello) directory since you startedcode .from there.
Issue command
dotnet runat the terminal to see the result:"Hello, YOUR_NAME!".
Congratulations! You have just modified and run your first C# console application project!
Footnotes